
Send Your First Document
Upload a document, add recipients, and send for signing.
Prerequisites
- An eSignMor account.
- A PDF document to send for signing.
Limitations
- Maximum file size: 50MB (configurable for self-hosted)
- Supported format: PDF only
- Maximum 10 documents can be uploaded at once on Premium plans
Send a Document
- 1Upload your document
- Go to your Documents dashboard
- Click Upload Document in the top right
- Select your PDF file or drag and drop it into the upload area
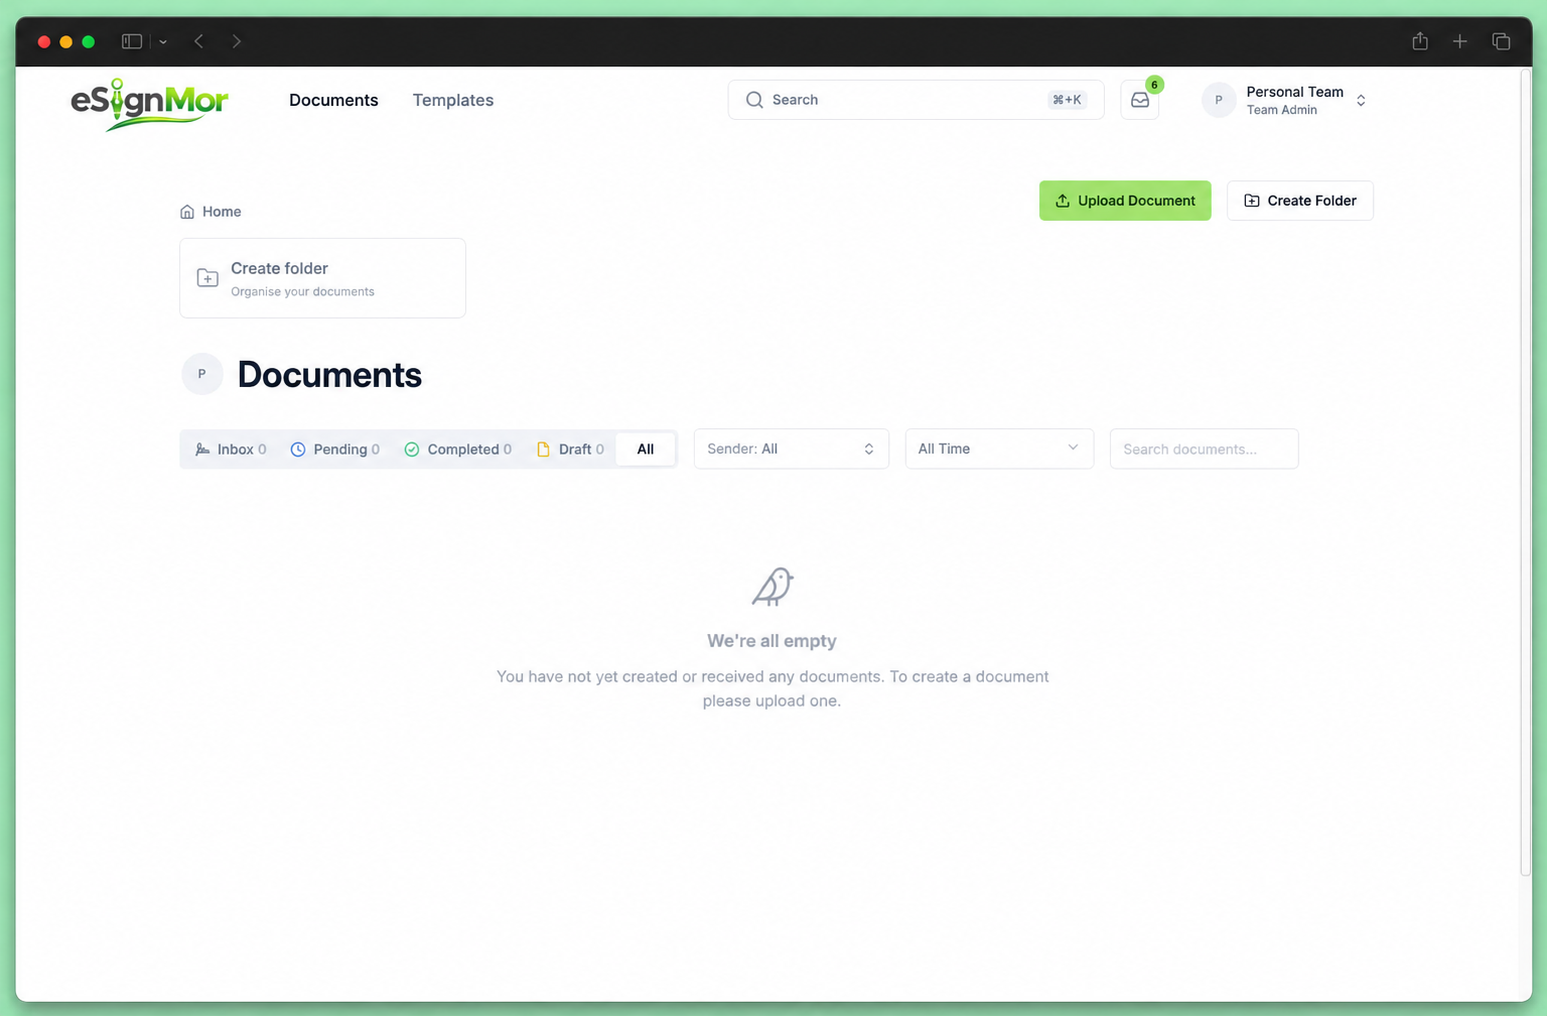
step-1-upload.png After uploading, you'll be taken to the document editor.
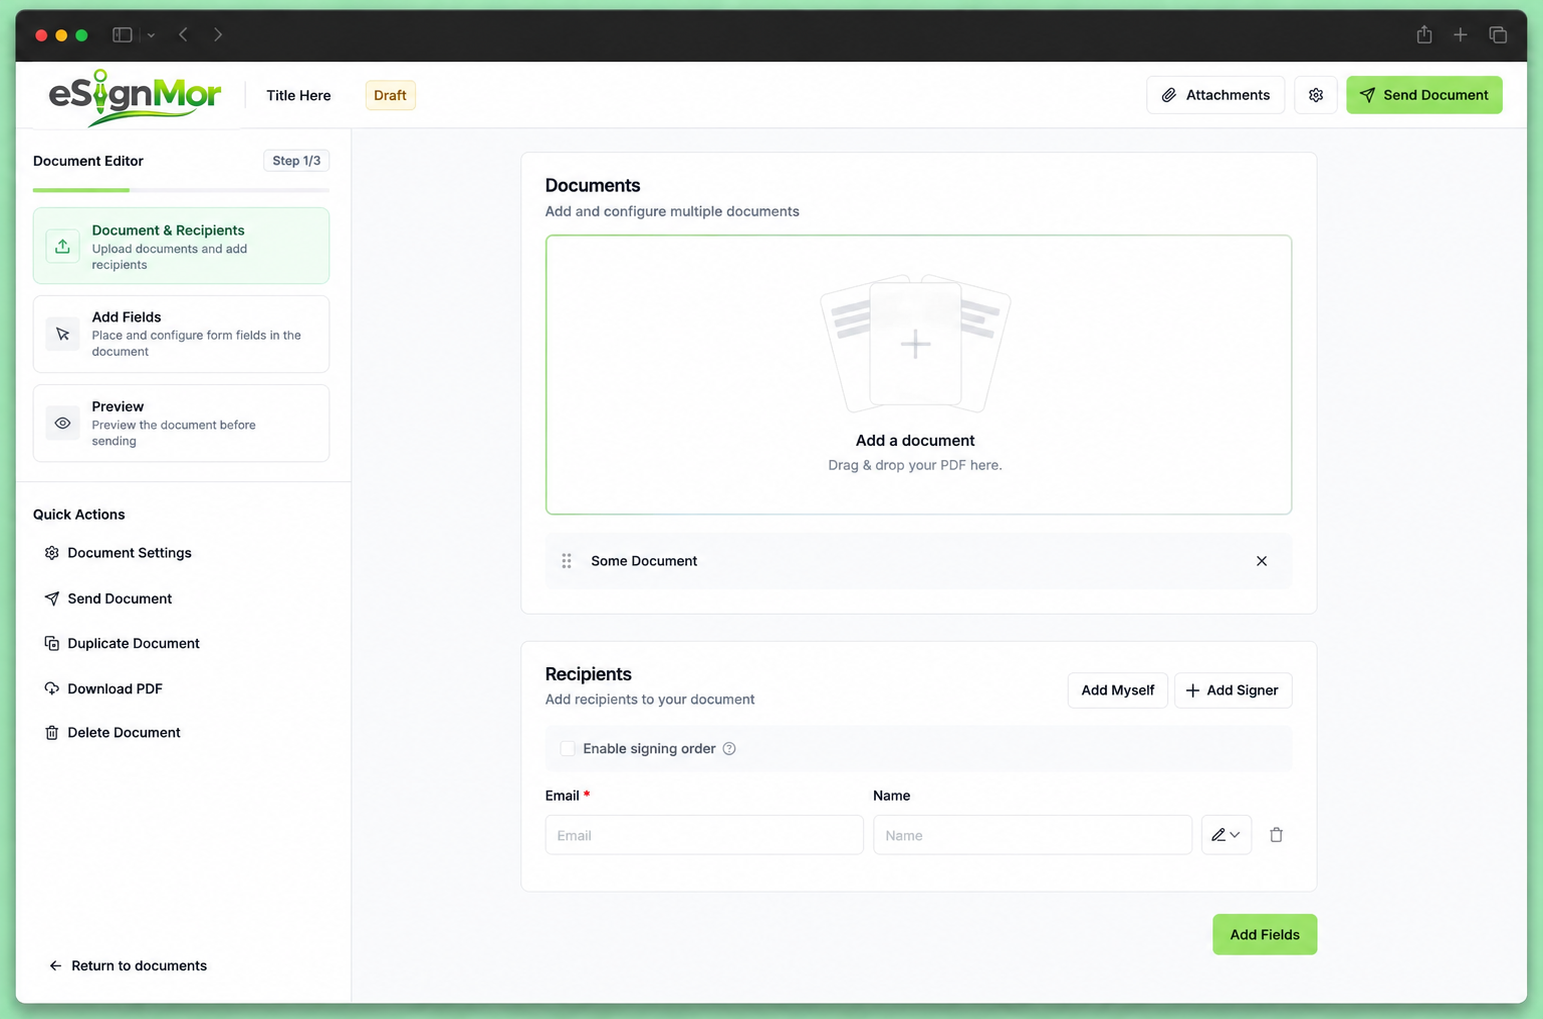
step-1-editor.png - 2Add recipients
In the editor, add the people who must take an action or receive a copy of the document.
- Click + Add Signer
- Enter the recipient's email address and name
- Select their role:
- Signer — Must sign the document
- Approver — Must approve (signature optional)
- Viewer — Must confirm they viewed it
- CC — Receives a copy after completion (no action required)
Add additional recipients by clicking + Add Signer again.
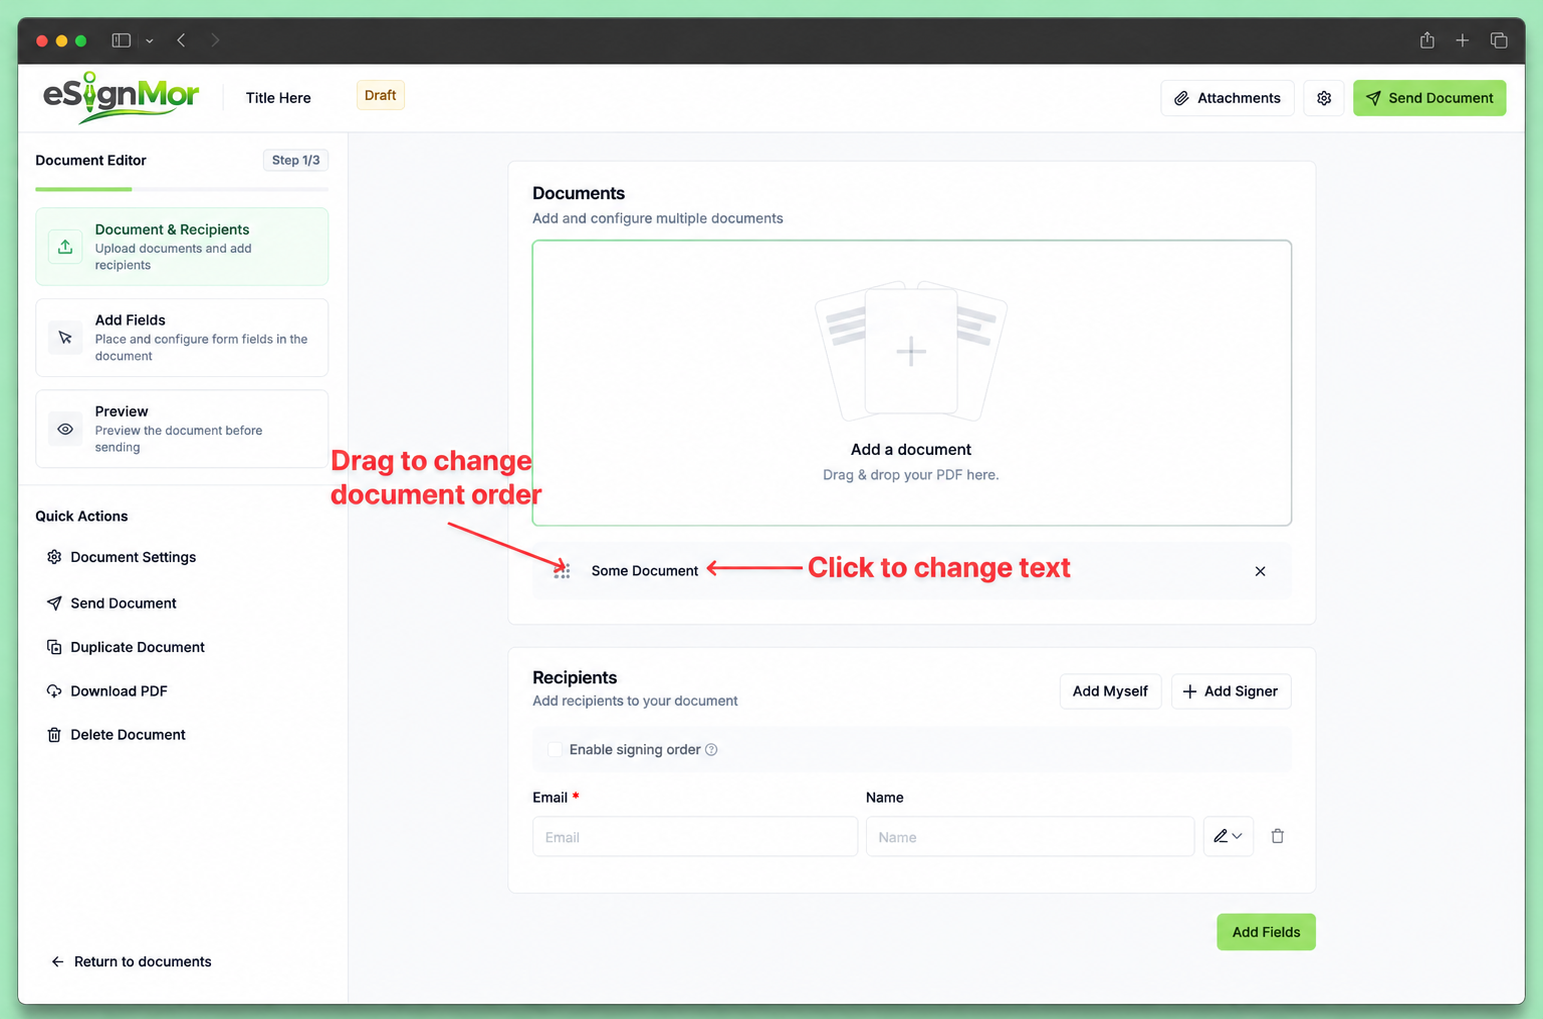
step-2-recipients.png Enable Signing Order if recipients need to sign in a specific sequence. - 3Add signature fields
Navigate to the Add Fields section. For each recipient:
- Select the recipient in the right sidebar
- Drag a Signature field onto the document where they should sign
- Optionally add other fields like Name, Date, or Initials
Fields are color-coded by recipient. Resize fields by dragging their corners.
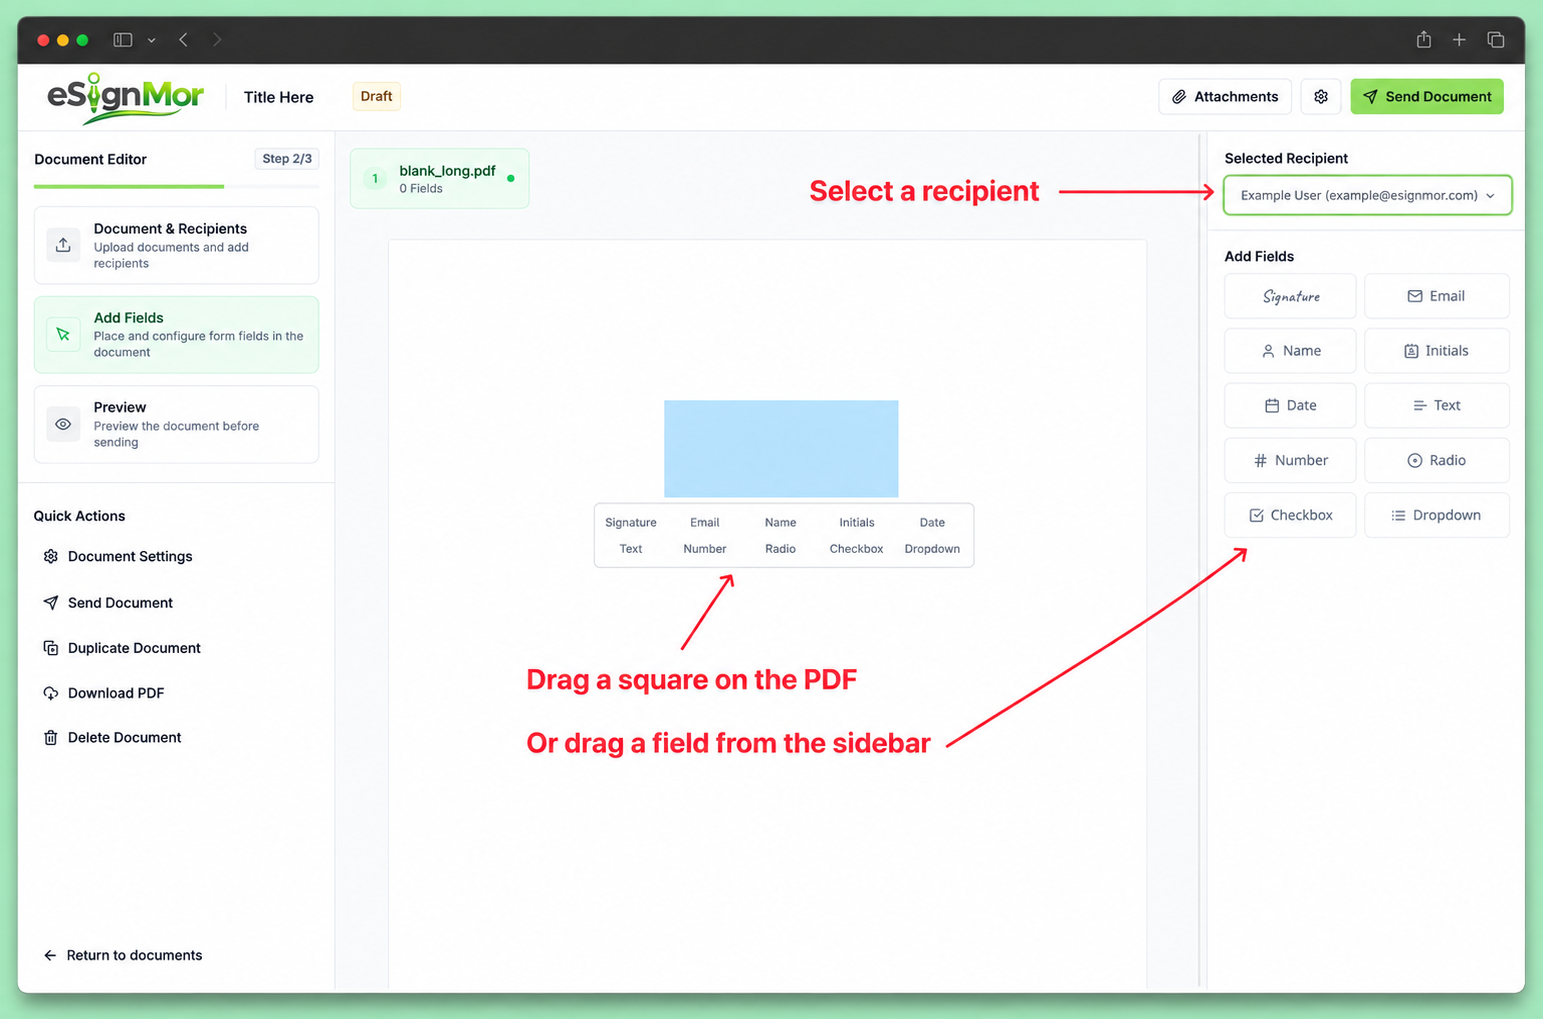
step-3-fields.png At minimum, each signer needs one Signature field assigned to them. - 4Send the document
- Click Send Document in the left sidebar (or navigate to the Preview section)
- Review that everything looks correct
- Click Send
Your document is now sent.
What Happens Next
- Recipients receive an email with a link to sign the document
- Recipients sign by clicking the link and completing their assigned fields
- You get notified when each recipient completes their action
- Everyone receives a copy of the fully signed document once all signatures are collected
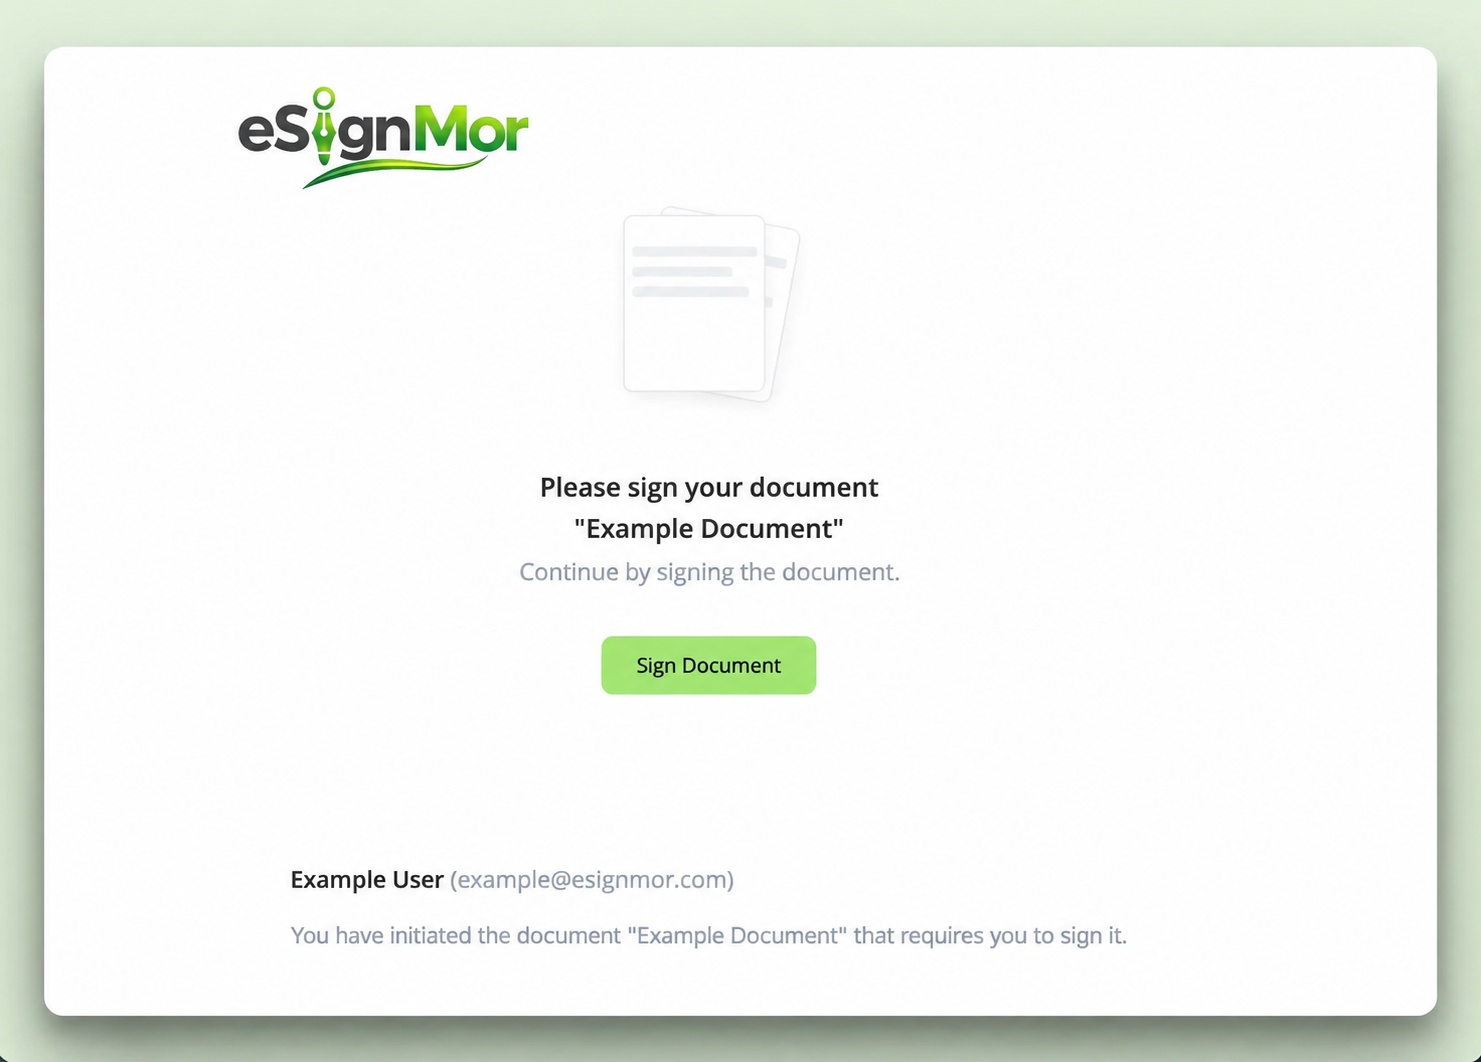
You can track progress from your Documents dashboard. Click on any document to see which recipients have signed and which are pending.
See Also
- Add Recipients — Roles, signing order, and CC copies
Add Recipients
Add signers, viewers, and approvers in the order they should act.
Add Fields
Drop signature, date, text, and checkbox fields exactly where you need them.
Send Documents
Send by email with a personal message. Track every open, view, and signature.
Organisations Overview
Understand how organisations, teams, and groups fit together.

Create a Team
Group members by department, region, or workflow.

Team Members
Invite, remove, and change roles for teammates.

Groups
Bundle members and permissions to keep access clean at scale.

Our team answers every message.
Email us and we'll walk you through anything — setup, templates, teams, or SSO.